Advanced Features
In this section we will look at any aspects of Lock Stock not previously discussed in the manual. Everything covered is accessed by opening the Features Menu.
Settings
and can be found under have already been covered under their relevant sections of the manual. Here we will look at the settings that haven't.
General
When you first click in the Features Menu some General settings will show, but there are also buttons leading to other menus. In the general settings you can enter the name of your business and the address under the About This Establishment header.
Security
Under the heading Security in the General settings you will see a tick box for allowing changes to historic movements. Ticking it will allow the person to make changes to old stock movement data. You may need to do this if mistakes have been made or if stock was lost or found. It would be recommended for only management to be able to this.
(ASK ADAM) Are the other settings under general a repeat of the ones found under Mark Up or are they for a specific user?
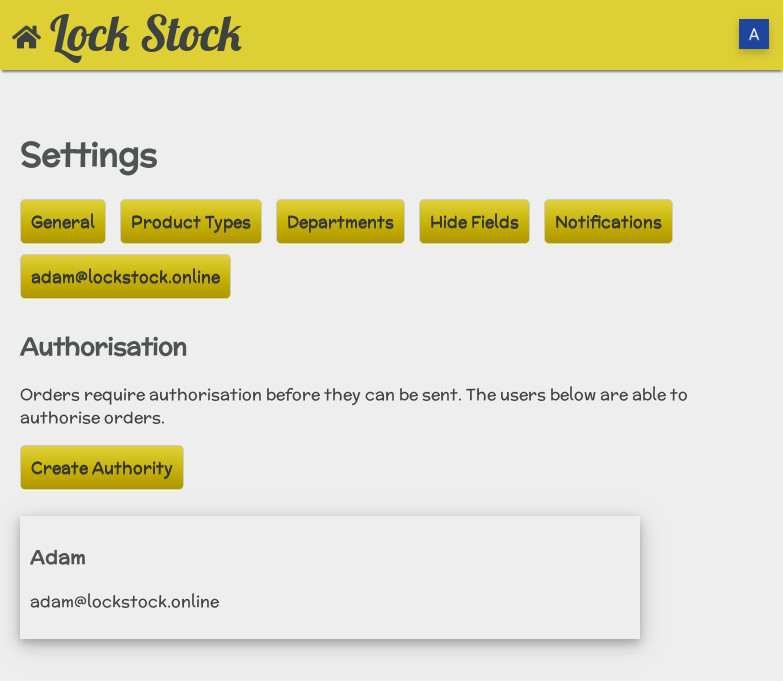
Authorisation
If you purchased Lock Stock then you will have already been given full access to its features and will have a four digit pin number for which you can use to authorize orders for your staff.
However it is possible to give chosen staff members the authority to do so and this is where you can do it. To get started click the under . It will take you to a page that looks like this:
- Name - Type the name of the person in the first bar that you want to give authority to.
- PIN - Input the four digit PIN number which the staff member can use to authorize orders here.
- Email - Type the email address the staff member has assigned to them for Lock Stock. This is also the email address which a message will be sent to if another staff member asks them to authorize an order.
- - Once you've entered the details click the Update button to add that person.
- - Click cancel to go back to the previous page without adding anyone.
Editing a Staff Members Authority
When you click , any staff members that you've already given the authority to confirm orders will be listed underneath. To edit the details for any, simply select that person. It will take you to the page with their details on it and you can change their name, PIN number, and Email address there.
Delete
You can also remove their authorisation powers by clicking on this page.
Hide Fields
In the Hide Fields Settings you can choose to hide a product's batch number and expiry date in the movement data for products. To do so just tick the box next to which you want to hide and then press .
Notifications
This is where you can create notifications and decide on the circumstances that you'll recieve them.
To get started click under . It will take you to a page that looks like this:
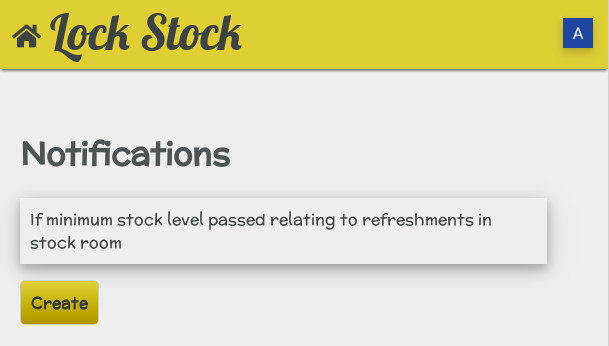
The drop down box next to the word "If" is where you set the condition or type of event to happen for you to receive a notification. You can choose out of the available options shown in the drop down box and your choice will affect what other information needs to be filled in.
Below is an explanation of the available options:
- Held Stock - You can choose to receive a notification when the value of all stock or a category of, is greater or less than an amount of your choosing in a specific department or all departments. For example you could set it so that you receive one when your groceries stock is below the value of £50 in your stock room.
- Stock Discrepency - This option works in the same way but the notification will be when there's a stock decrepency rather than when stock is above or below a specified amount. The difference is that you'll notice an additional box which allows you to set a time period for it to happen before the notification is sent. You can set it so that you receive one if there's a stock decrepency on any one day, or in any one week, or in any one month.
- Profit - With this option you can do the same but for profit. For example if the profit you make on all products or a category of is more or less than a specified value over a set time period then you will receive a notification.
- Minimum Stock Levels - With this option you set it so that you receive a notification when the stock level for all products or a category of is below a specified value in all departments or a specific one. Basically when your stock falls below a certain amount in a department Lock Stock will let you know.
Adding Recipients
You now need to choose who will receive the notification. To do so select an email from the choose an email drop down box and click . You can add more than one recipicant if you wish.
Last Step
Once your happy click to add the notification to Lock Stock. Click to return to the previous page without adding it.
Editing and Deleting Notifications
When you click in the menu any previous ones you created will be listed. Select the one that you want to edit. It will take you back to the creation screen and you'll be able to edit the details. Click the to update your changes.
To delete the notification click which will now be highlighted as an option.
Limited Access to Settings
If you haven't been authorized to have full access to Lock Stock then most options for settings will hidden from you.
What you can do is select a default stock check and destination department for yourself. It can be useful if the business is large enough to have staff dedicated to specific departments. Your choices will be used as a default whilst using Lock Stock.
Reports
Errors
This will show any times when the data had to be corrected due to circumstances such as missing stock.
You can select the time period in whcih you want the data to show for. There's also a drop down box where you can choose which products to include. Once you've selected the date range and product type you click generate report. The report will appear below and tell you of any stock you chose that was found and lost during that time period.
It will also tell you the total cost for each and at the very bottom of the page it will calulate the two figures giving you the total cost gained or lost.
Held Stock
Select this option to see how much stock each department holds. Make your choice in the drop box and all the products held there will be listed. It includes the value of each product and the total value contained in the department.
Changes to held stock
Here you can quickly generate a graph to show how a stock level has changed for a particular department over time.
Simply choose a year and a department, and then click for the graph to appear.
Sales League
You can use this feature to show how many of a product you sold and the profit made within a specified time period.
You can include all the products you sell or break it down into any product categories you've previosly created. Choose this in the drop down menu next to Show.
Select the start and end date you wish the search to be conducted within below.
The products can be ordered by sales or profit by selecting your choice in the drop down box below the date bars.
Sales Report
Here you can create a sales report for any given year. You can include an individual product, a category of products, or all your products. Pick the year you want to generate the report for in the first box labelled year.
In the tab beneath it you can select all products or a product category such as janitorial in the drop down box. If you only want to choose one specific product select "Do not include summary" instead and see the next paragraph.
To add an individual product simply click under the Individual Products header. It will show a list of all the products you sell. You can pick as many products as you like to compare but you add them one at a time.
Once you've picked your products, you can choose to see data for sales or profit in the Show option.
Now click . It will show the data in graphical form and in a table. The Raw Data is purely the sales or profit figures for your chosen products. It's there to be more accessible for if you wanted to use it for other things.
Other uses
The sales report is a quick and easy way to view sales and profit figures but you could use the data in more advanced ways. For example you could move a product in your store, maybe to a more or less prominant position, and then clearly see how doing so has affected its sales and profit margins.
Stock Check
Just like it says, you can use it to see when you last did a stock check for all products or a category of them.
Pick the product category, the department, and the number of results you wish it to show. Then hit . It takes the data from the stock check tab found on any products information page. You can access that page here as well by selecting the product.
Tools
Mark Up
Here you can specify a set mark up to the cost price for a specific category of products. Doing so will allow Lock Stock to calculate the sales price for you following the parameters you set.
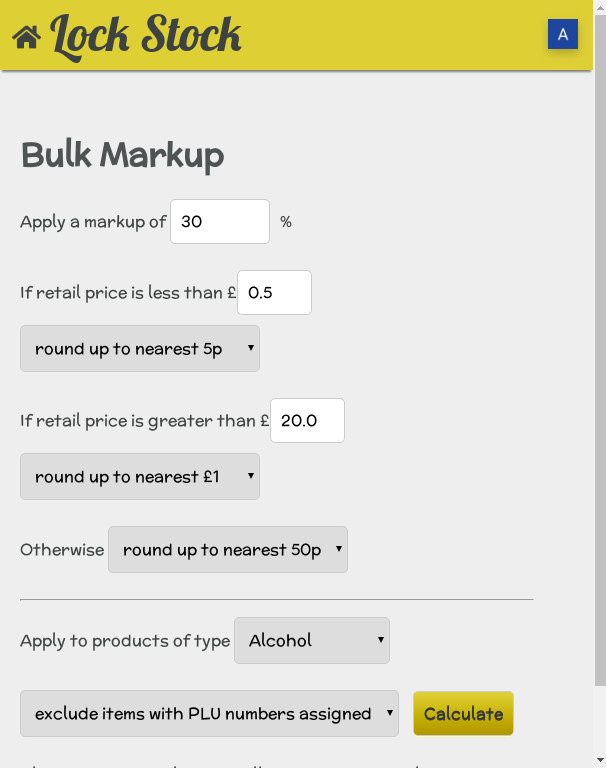
In the first box choose the percentage of the cost price that you wish Lock Stock to add to the cost to determine the actual sales price. For example, a product cost you £100 to buy and you choose a mark up of 25%. Lock Stock will then create a sales price of £125 for that product.
The next 3 options on that page allow you to tell Lock Stock to round up the price to different values or not to round it up at all. You can also set differnet round up options for products below or above a certain value, and you can choose the values!
For example you can tell it to charge a minimum of 5p for any products you buy at a retail price of less than 5p. Or you can tell it to round up products with a retail price above £20 to 99p.
On the next half of the page you can choose the category of products you want Lock Stock to apply it to. It also gives the option to exclude or include products with PLU codes.
Once that is done, click calculate. Lock Stock hasn't applied them at this point giving you the opportunity to review them first. If your happy with them you can then click and the prices will be applied.
You can change the price for any individual product manually afterwards if you wish to.
Back Up
Click to back up your stock data. It can take a few seconds if you have lots of data stored.
Once it's done there will be a link you can click to download the data onto your device. What app do you need to view it?
Help
Click to be taken to the contents page of this manual.
Logout
Logs out the current user.
(I'VE NOT WRITTEN THIS SECTION YET BUT IT WILL BE A LAST WORDS KIND OF THING DISCUSSING LOCKSTOCK. IT WILL ALSO INCLUDE CONTACT INFORMATION FOR US.)
Managerial Use
Authorization
It's possible to allow your staff to order more products when needed as well. When they do it will ask for an authorization code. The staff member can then email you, and you can then enter the authorization code from where ever you are.
How to Advanced
How deep you choose to go with your product management is up to you. I advise thinking carefully about whether your stock management plans are sustainable in the long term in terms of staff time/discipline before putting a new system in place.
Graphs. See how the data shows a spike in sales on this date. What caused it to happen? Did you move the stock? Put up a sign? Was there an event on in your town that created an influx of customers.
Create more categories i.e on display at the till. Is more stock sold here. How much more than when it was located at the back of the store. A perfect stock management system would account for the status of every item of value within your organisation in real time. For almost all organisations this is an unrealistic goal and the more effort that you put into pursuing perfectstock monitoring/management the fewer resources you have to serve your organisations's primary goal.
ADDING A CATALOGUE? (LINK)